I don't think Mail Merge is what you want/need here.
Mail Merge lets you create a template document/layout and connect it to a table of data (typically names and addresses, but can technically be anything). The 'table' can come from either your Contacts database a Numbers spreadsheet.
Pages then replicates the template for each entry in the source data.
What this means is if you have 200 names in your contact spreadsheet, you will end up with a 200-page document with one person's contact details on each page. That doesn't sound like a directory to me.
from the description, it sounds like the only complex part here is the 'folded and stapled' component.
On that basis, assuming the spreadsheet has all the data you want, this should get you going:
- Create a new document.
- In Inspector -> Document -> Document, choose Portrait orientation (yes, I know you want it landscape, but bear with me here :) )

The last phase - importing the data - is a two-step process because Pages can't (or, at least, won't) open a Numbers spreadsheet directly, so you have to create a dummy table, then copy your data in, so...
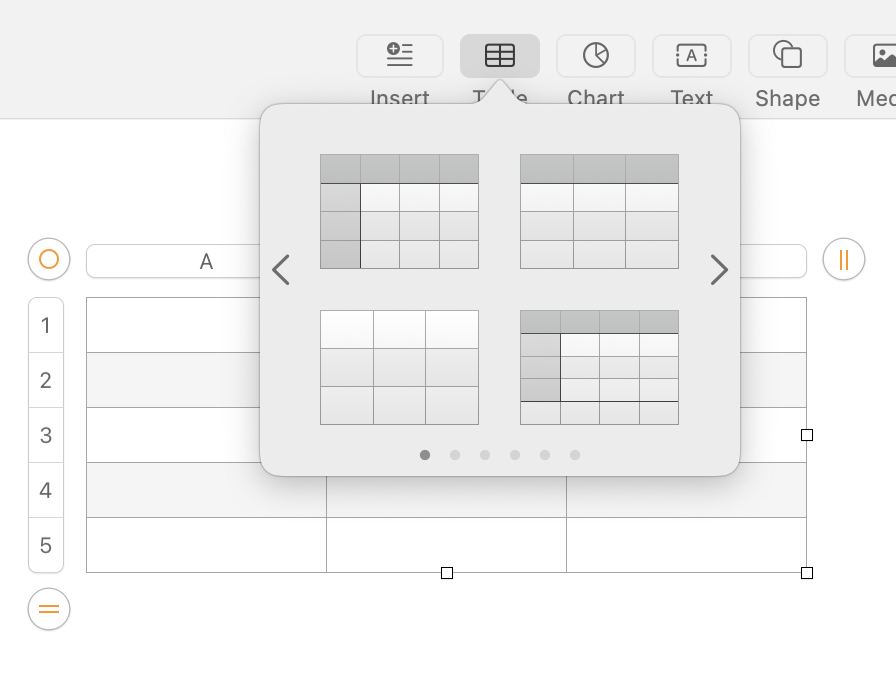
3. Create a table in Pages with the relevant number of columns (the row count is irrelevant at this point). For example, if your directory has Last Name, First Name, ID number, you want three columns:
4. Now go to Numbers, and select the columns of data you want to include in the directory (click the column header to select the entire column.
5. Copy the data from Numbers
6. Select the first cell in the table in Pages, then Paste the data.
(Note that Pages reacts differently depending on whether the cell is selected or active (i.e. you can type into it). If it's active (it has a blinking insertion point) then all the spreadsheet data will be pasted into that one cell. That's not what you want, so click away, then reselect the cell by clicking it once).
Pages will expand the table to accommodate all the rows of data copied from the spreadsheet. You can now format this however you want, with styles, headers, color, etc.
The magic comes when you try to print the directory. In the Print dialog, scroll down to the Layout section. Expand this and set the Pages per Sheet to 'Print As Booklet':
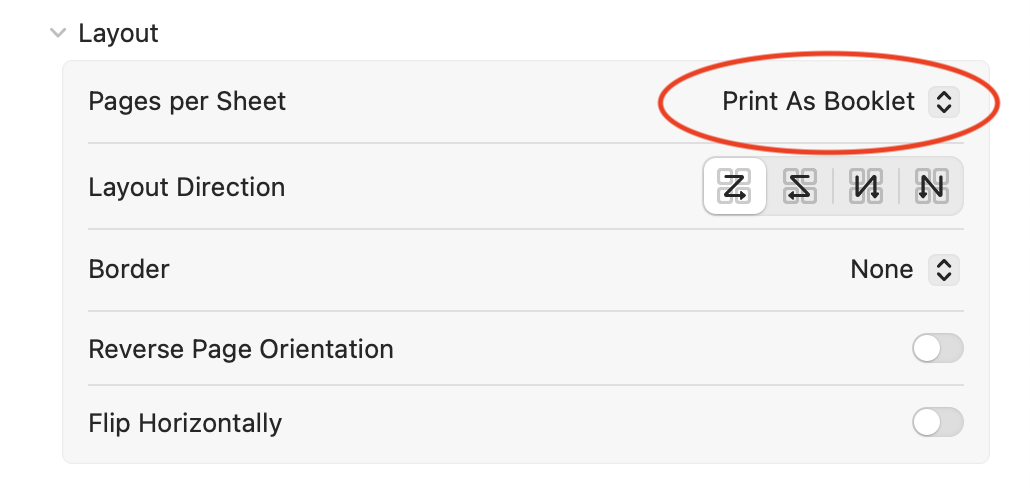
Pages will now scale the pages down to fit a half-page, and will reorder the pages such that when printed double-sided, collated, and folded, the pages will be in order.
The important parts here is that when you're editing the document, think of what you want each page to look like, (ignoring the fact that multiple pages will be printed per sheet), and let the Print dialog do the heavy lifting.